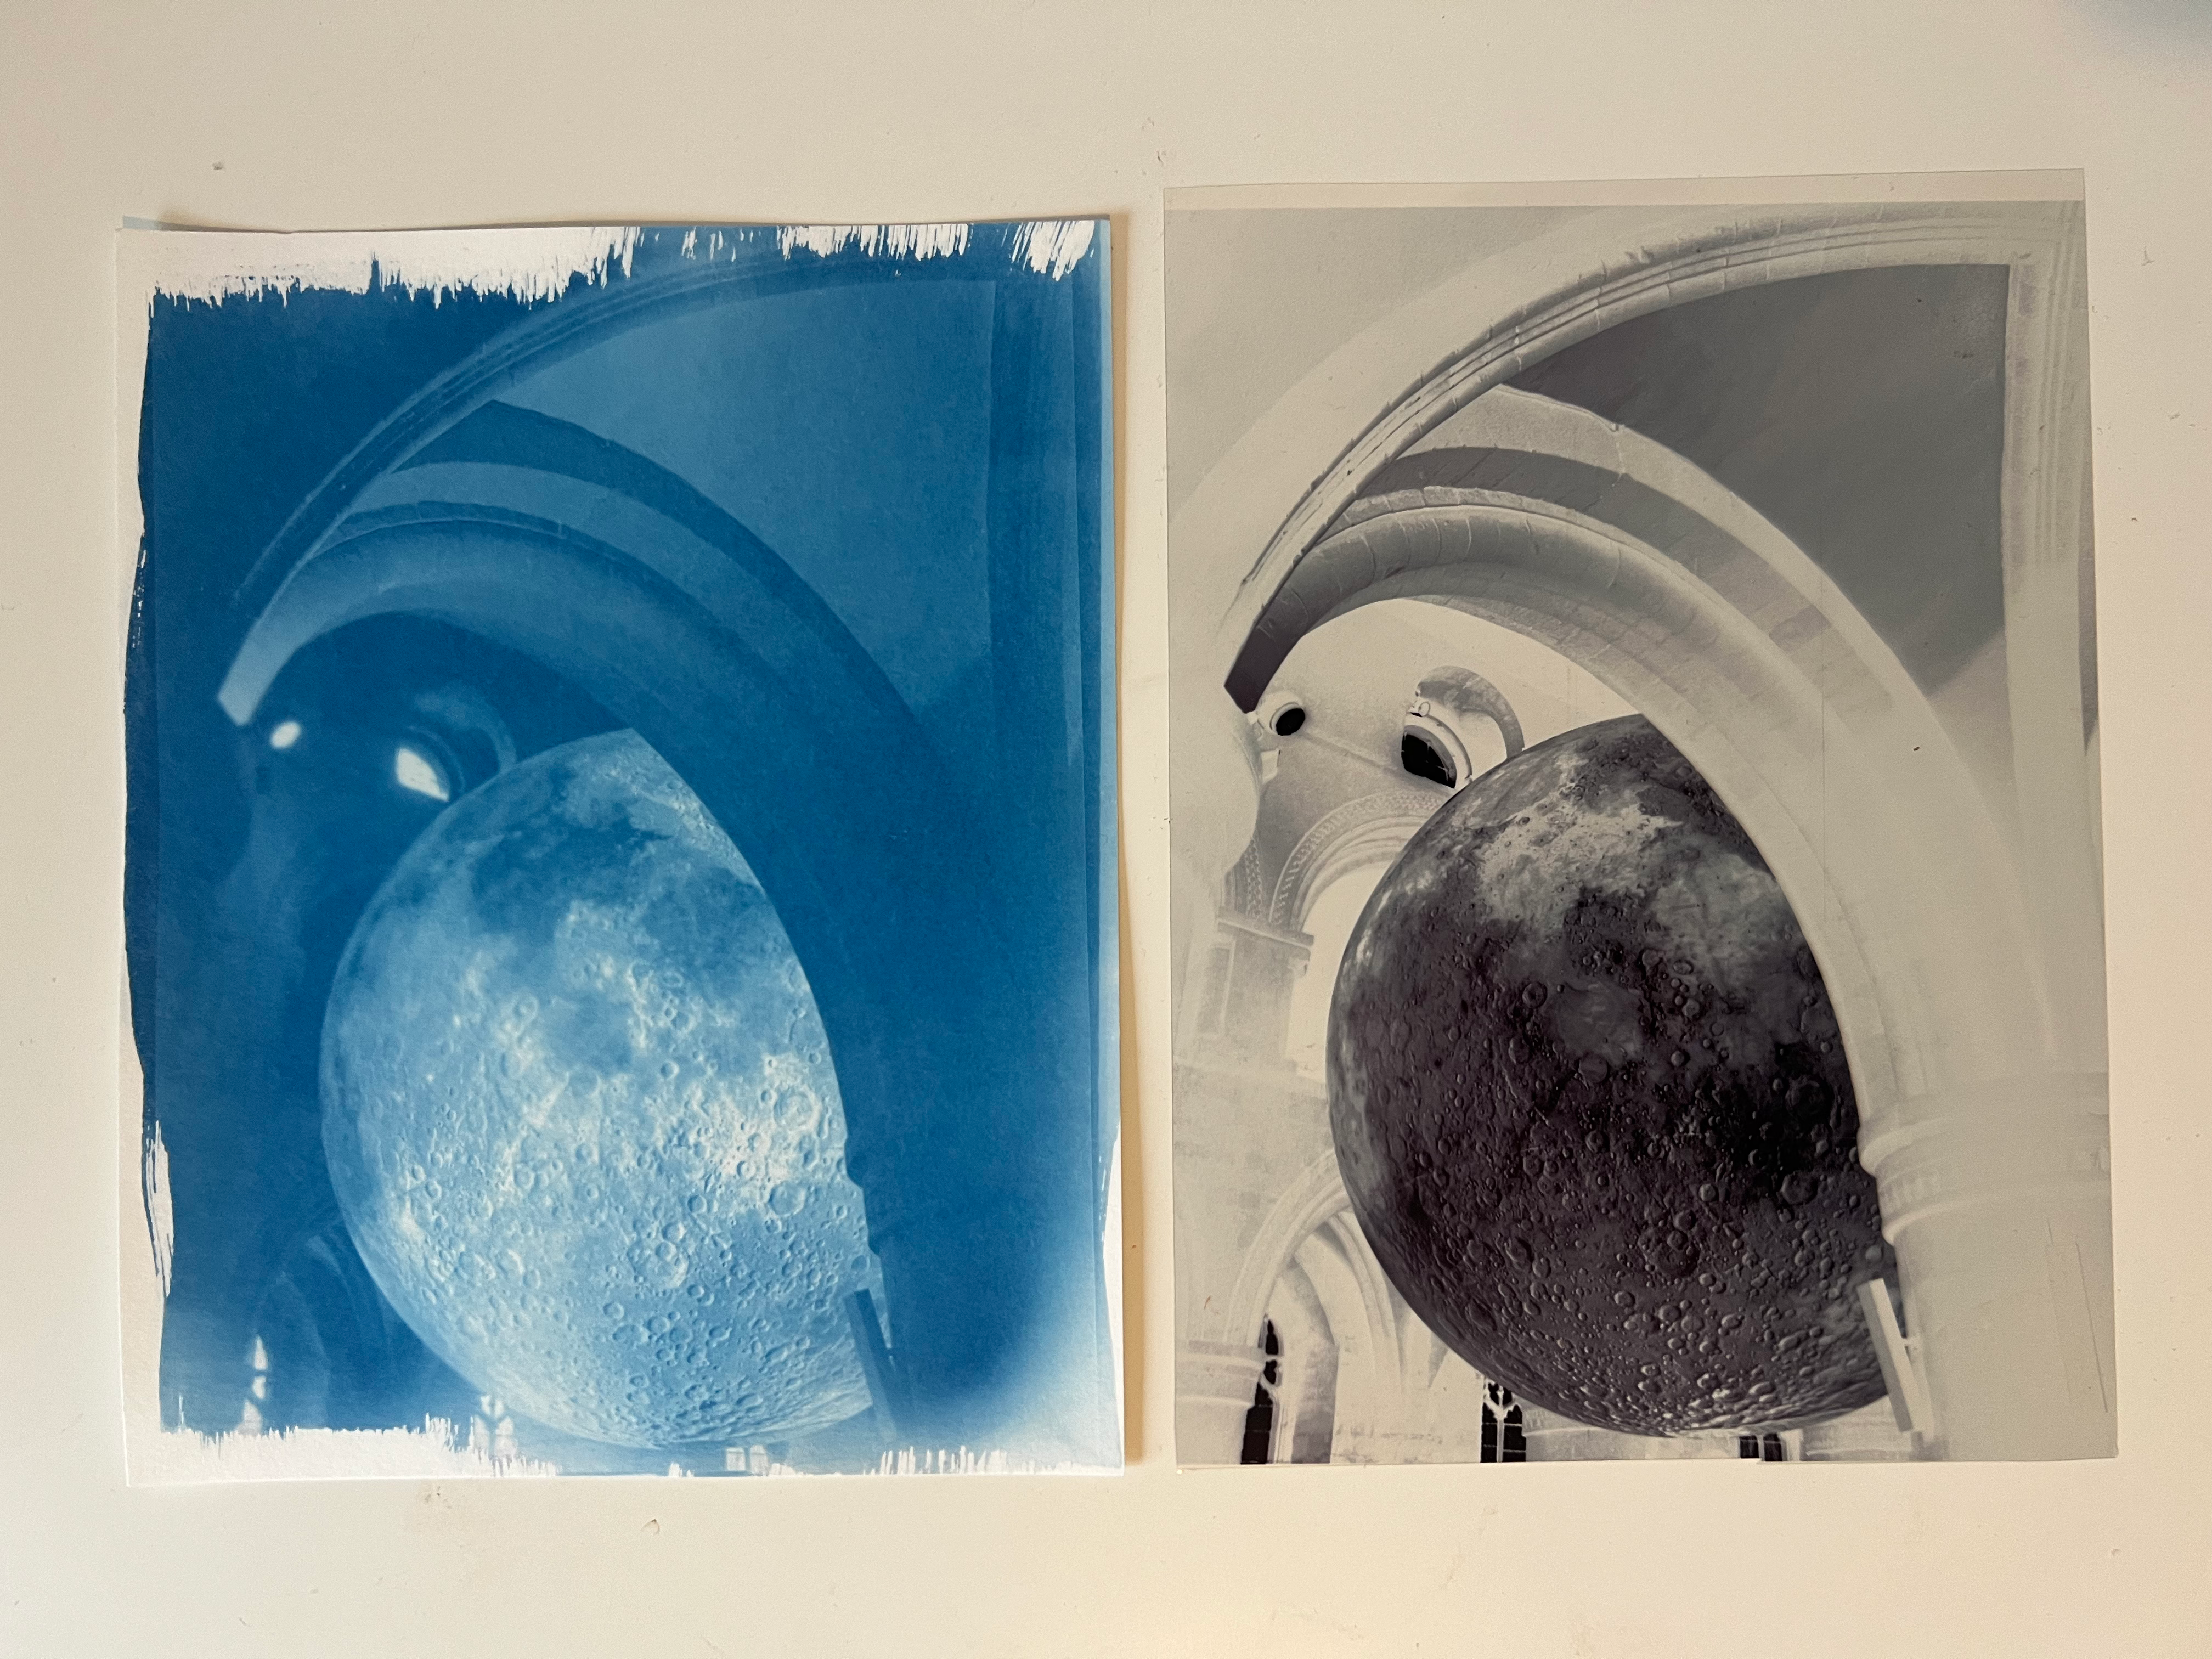
Creating a Digital Negative
Step by step guide
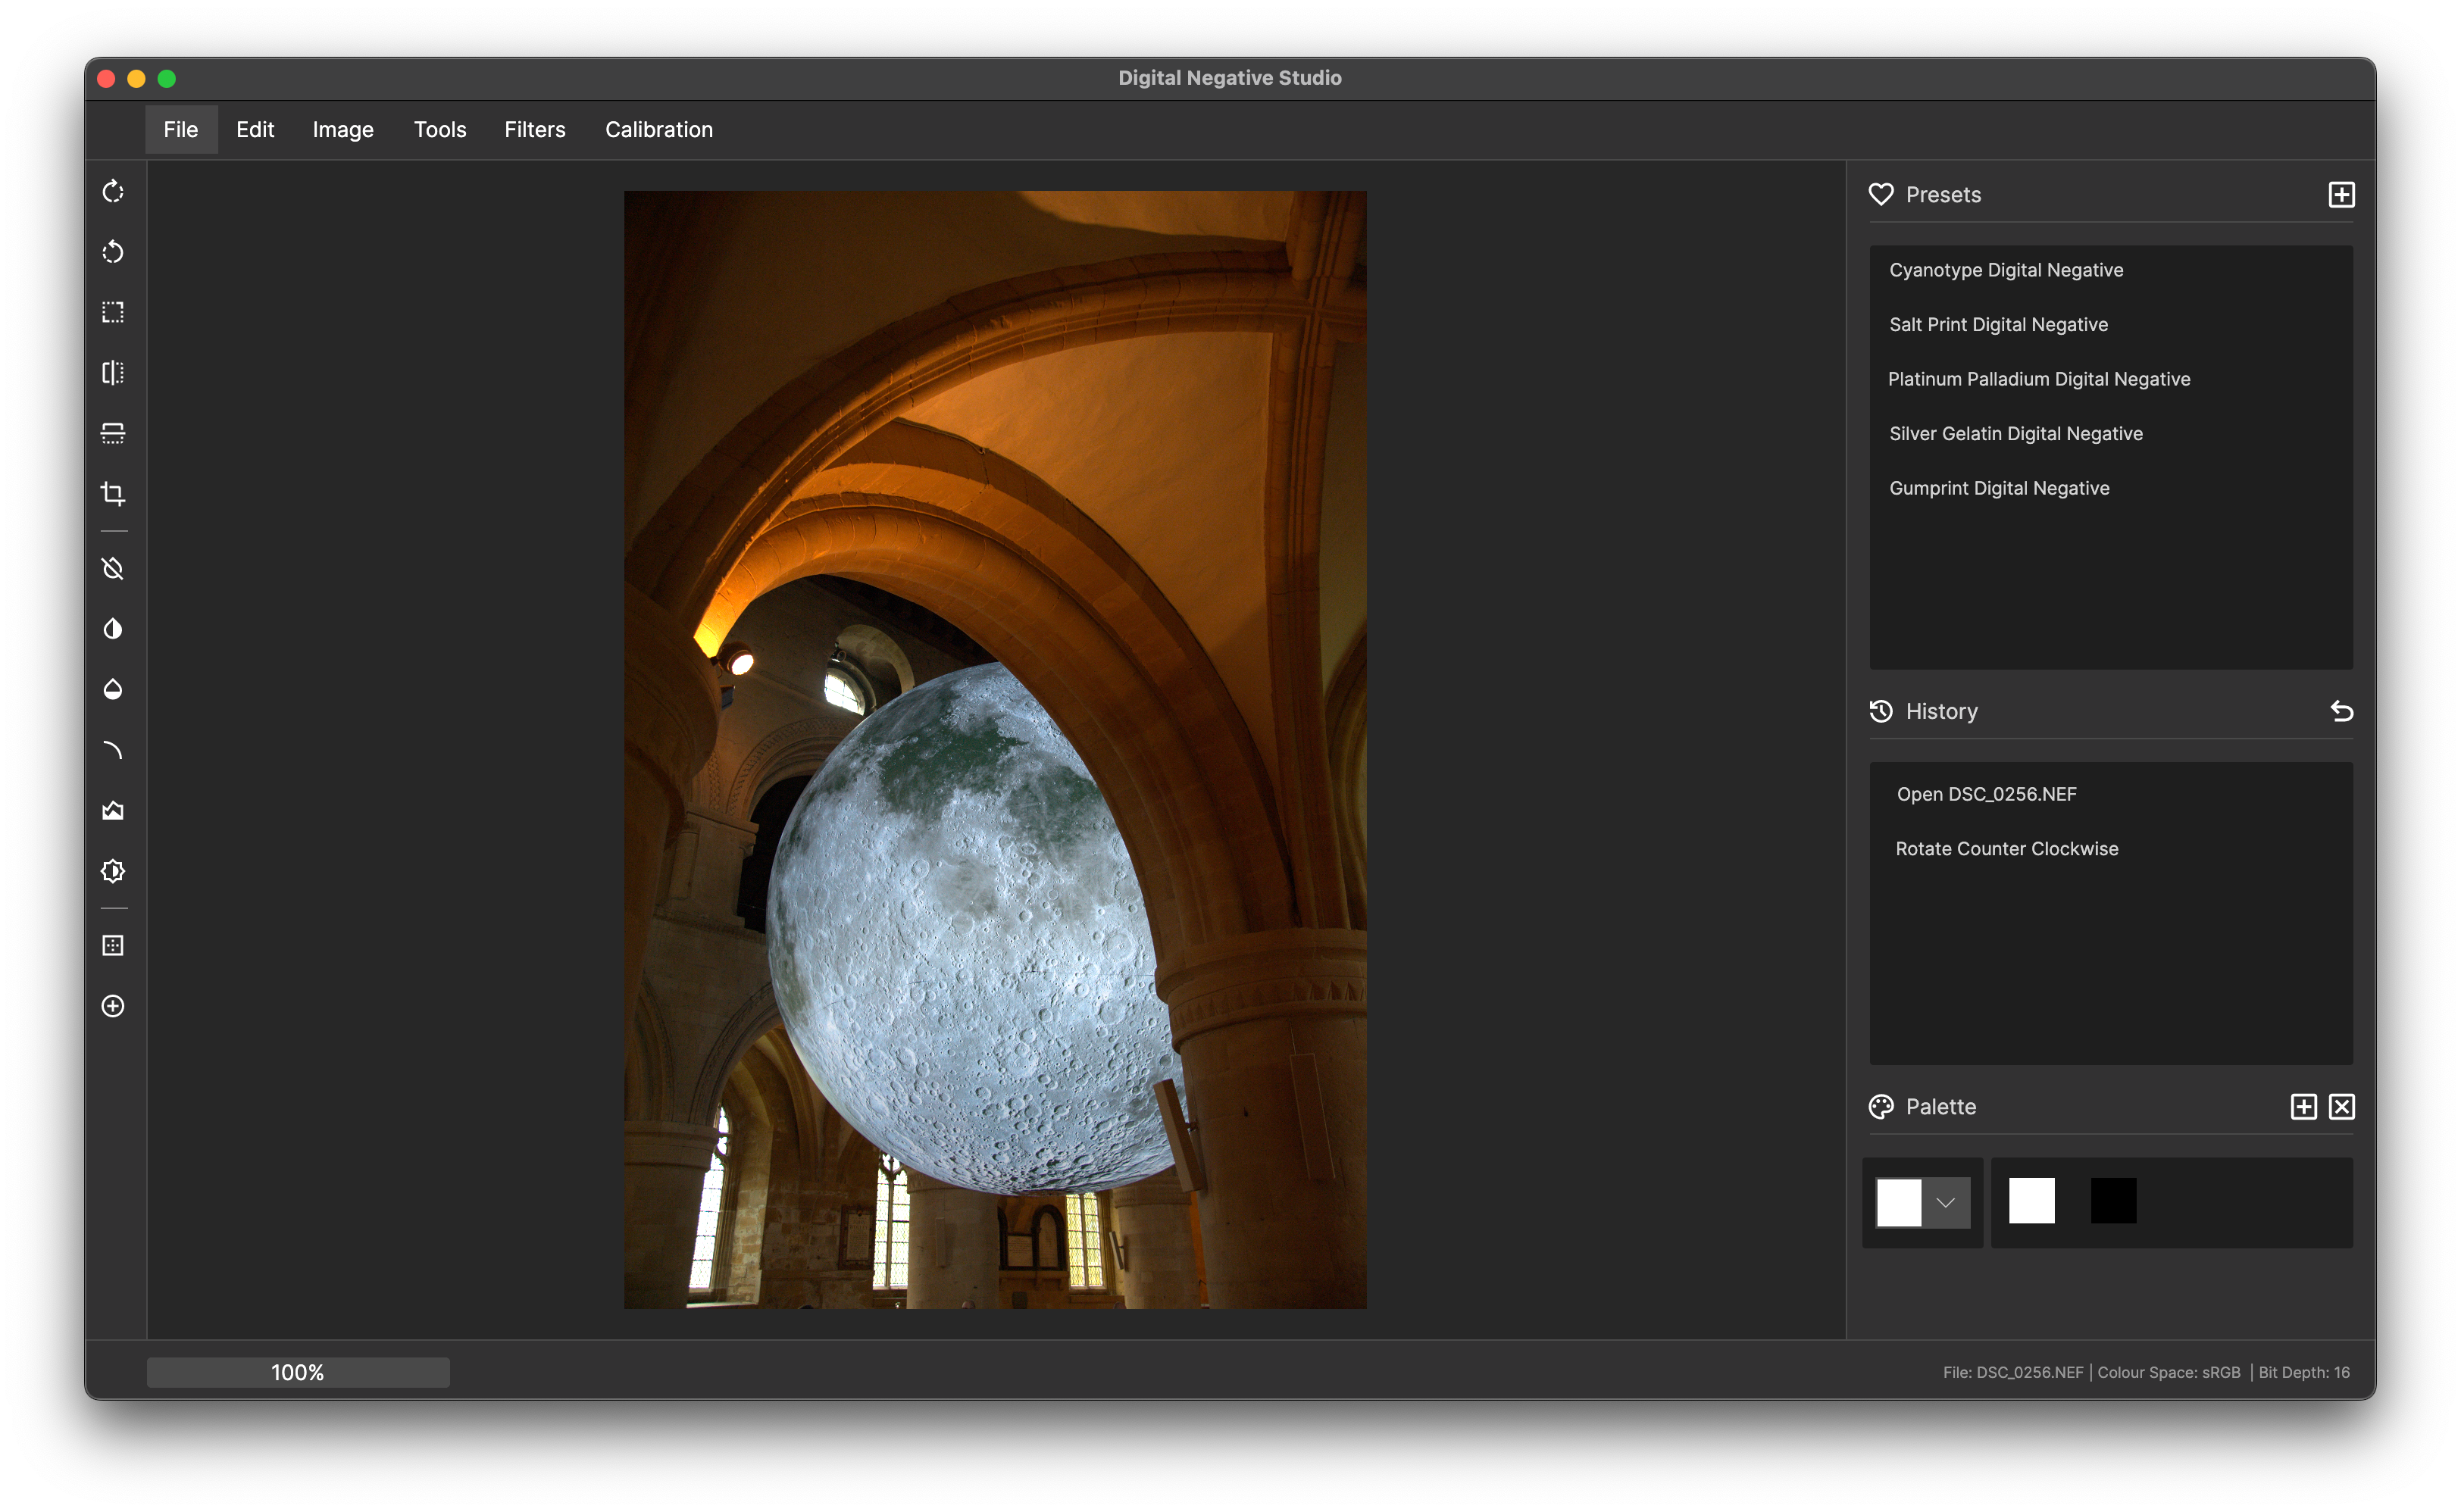
1. Open the file
- Open the file using File > Open or Ctrl + O.
2. Resize the image
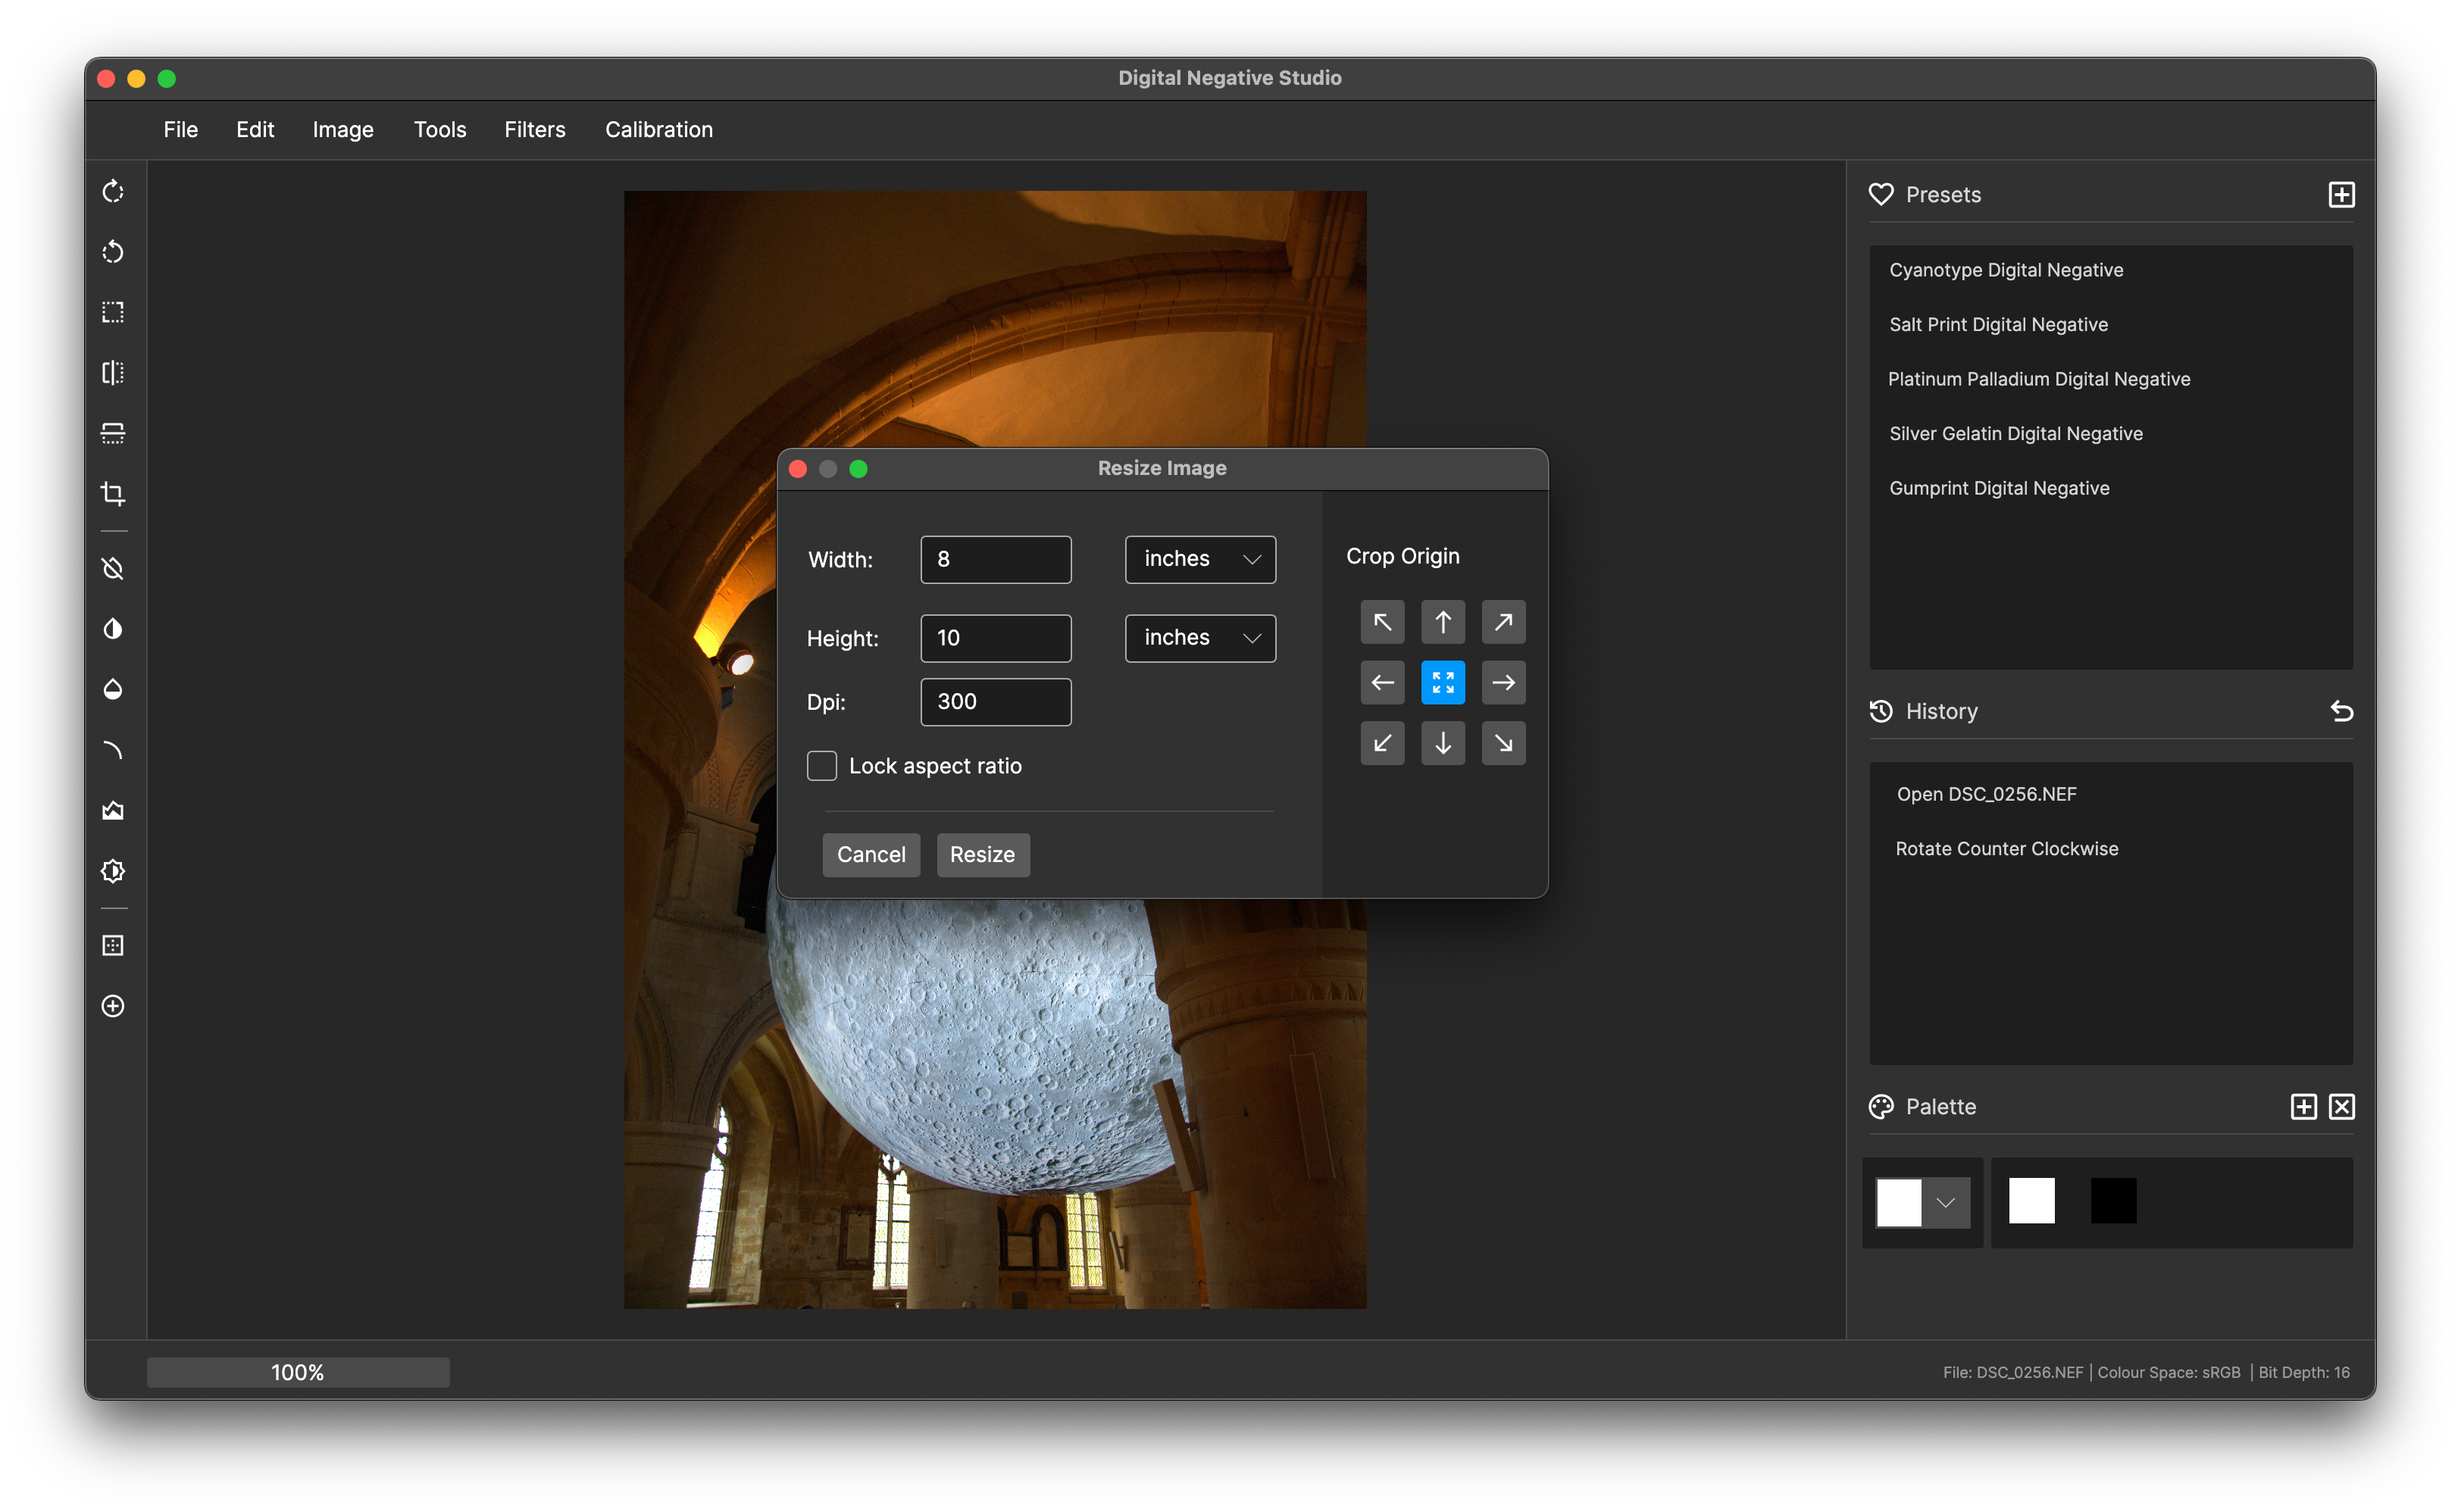
We are going to be printing on 8x10 paper, so the image needs to be resized to the correct aspect ratio:
- Open the resize tool using Image > Resize.
- Select inches from the dropdown and uncheck preserve aspect ratio.
- Enter 8 in the width and 10 in the height.
- Ensure the crop origin is centered to crop from the middle.
3. Apply a curve
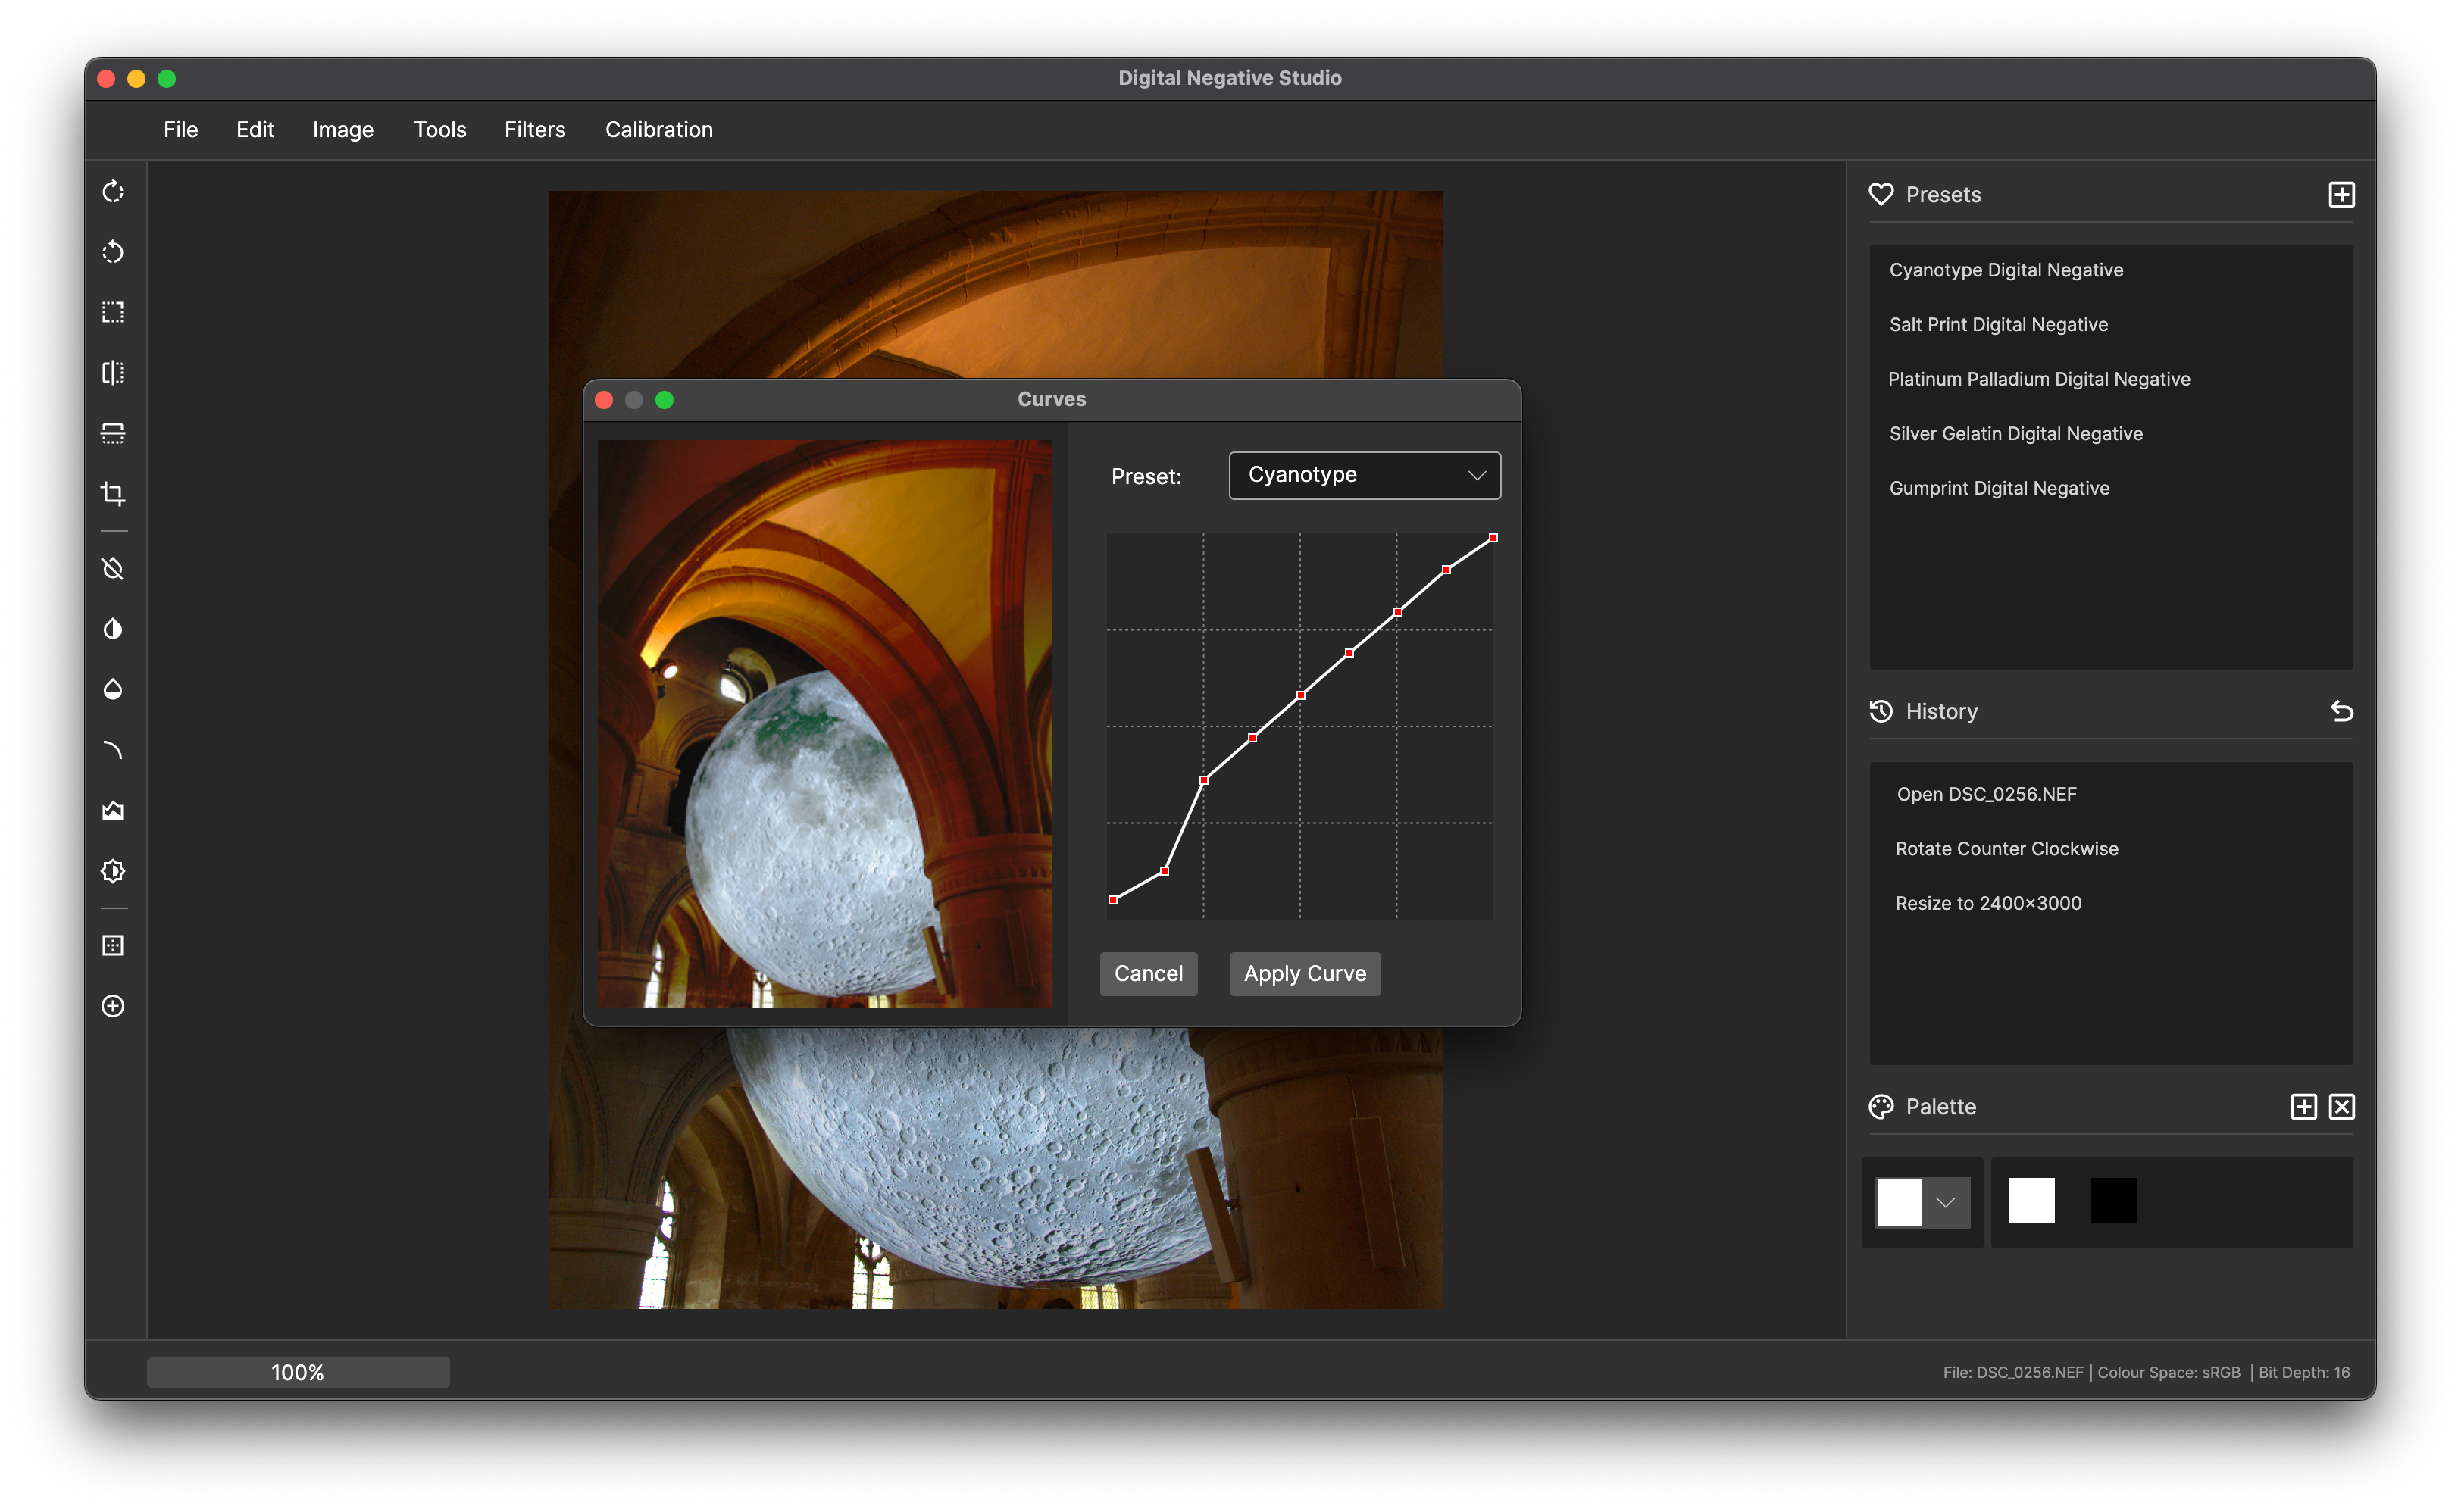
We are preparing this Digital Negative for a Cyanotype print:
- Select Tools > Curves from the menu.
- Choose the built-in Cyanotype curve.
- Adjust the curve as needed, then click Apply Curve.
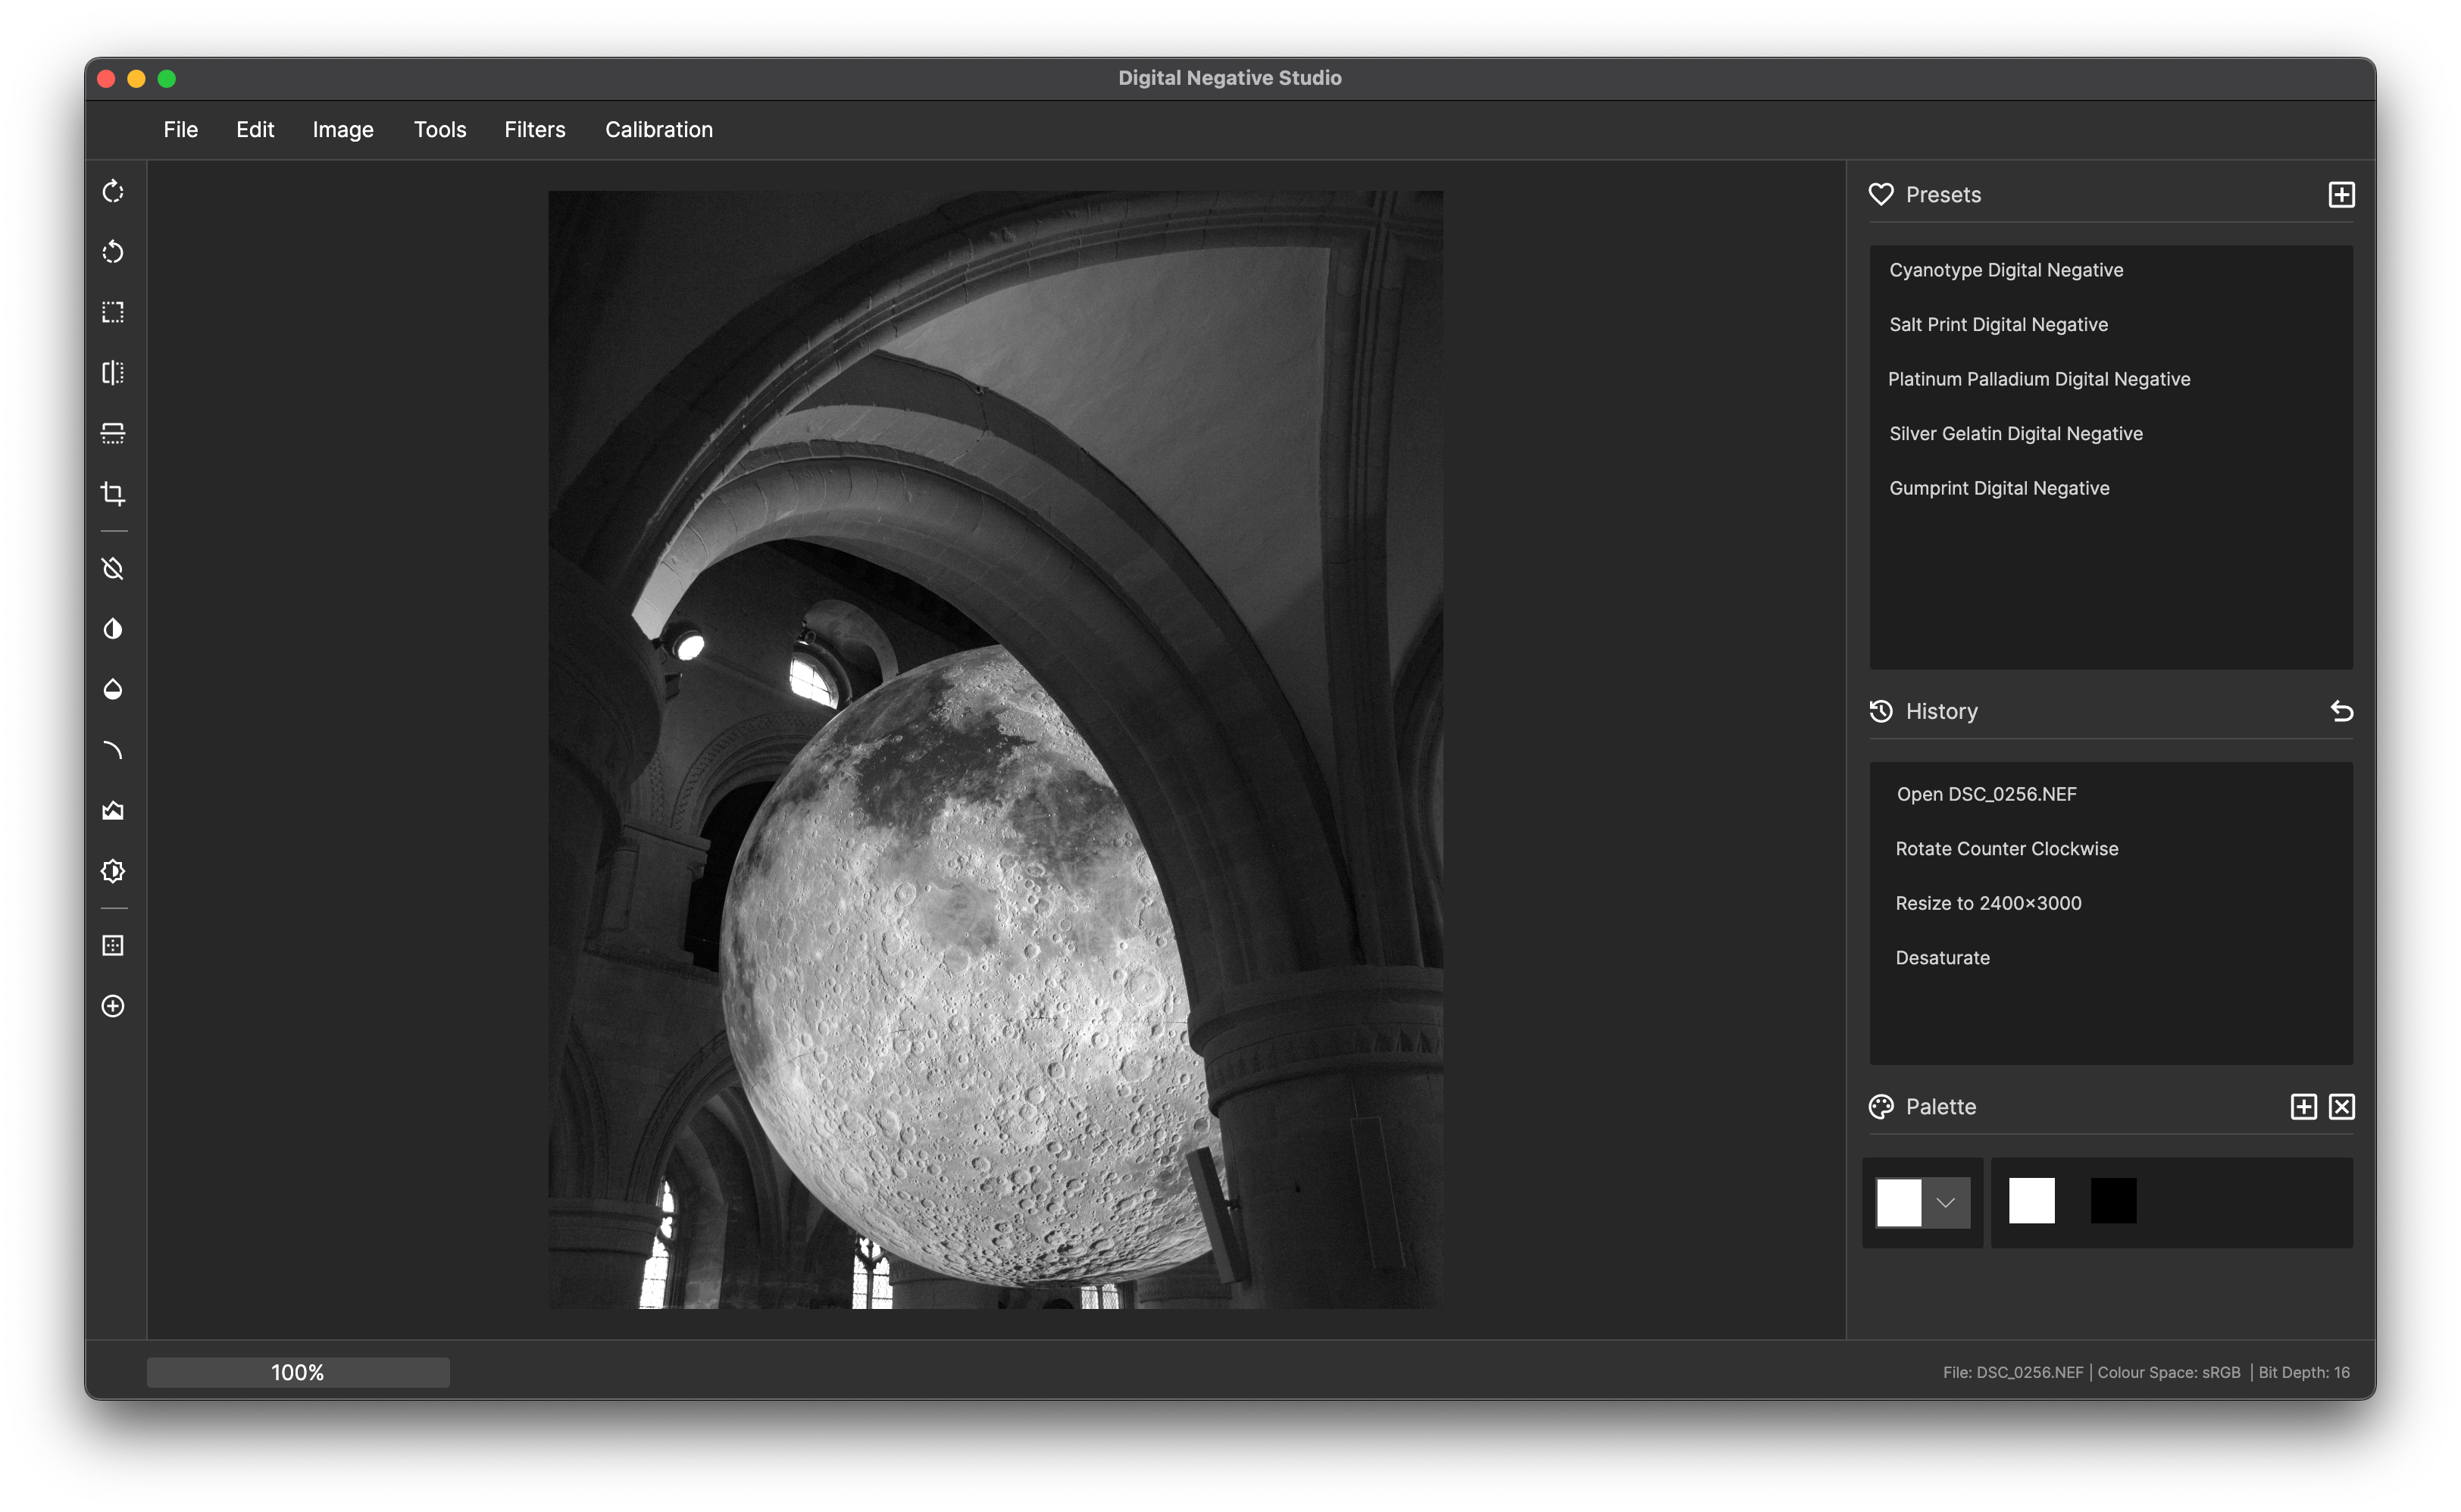
4. Desaturate the image
- Desaturate the image by selecting Tools > Desaturate.
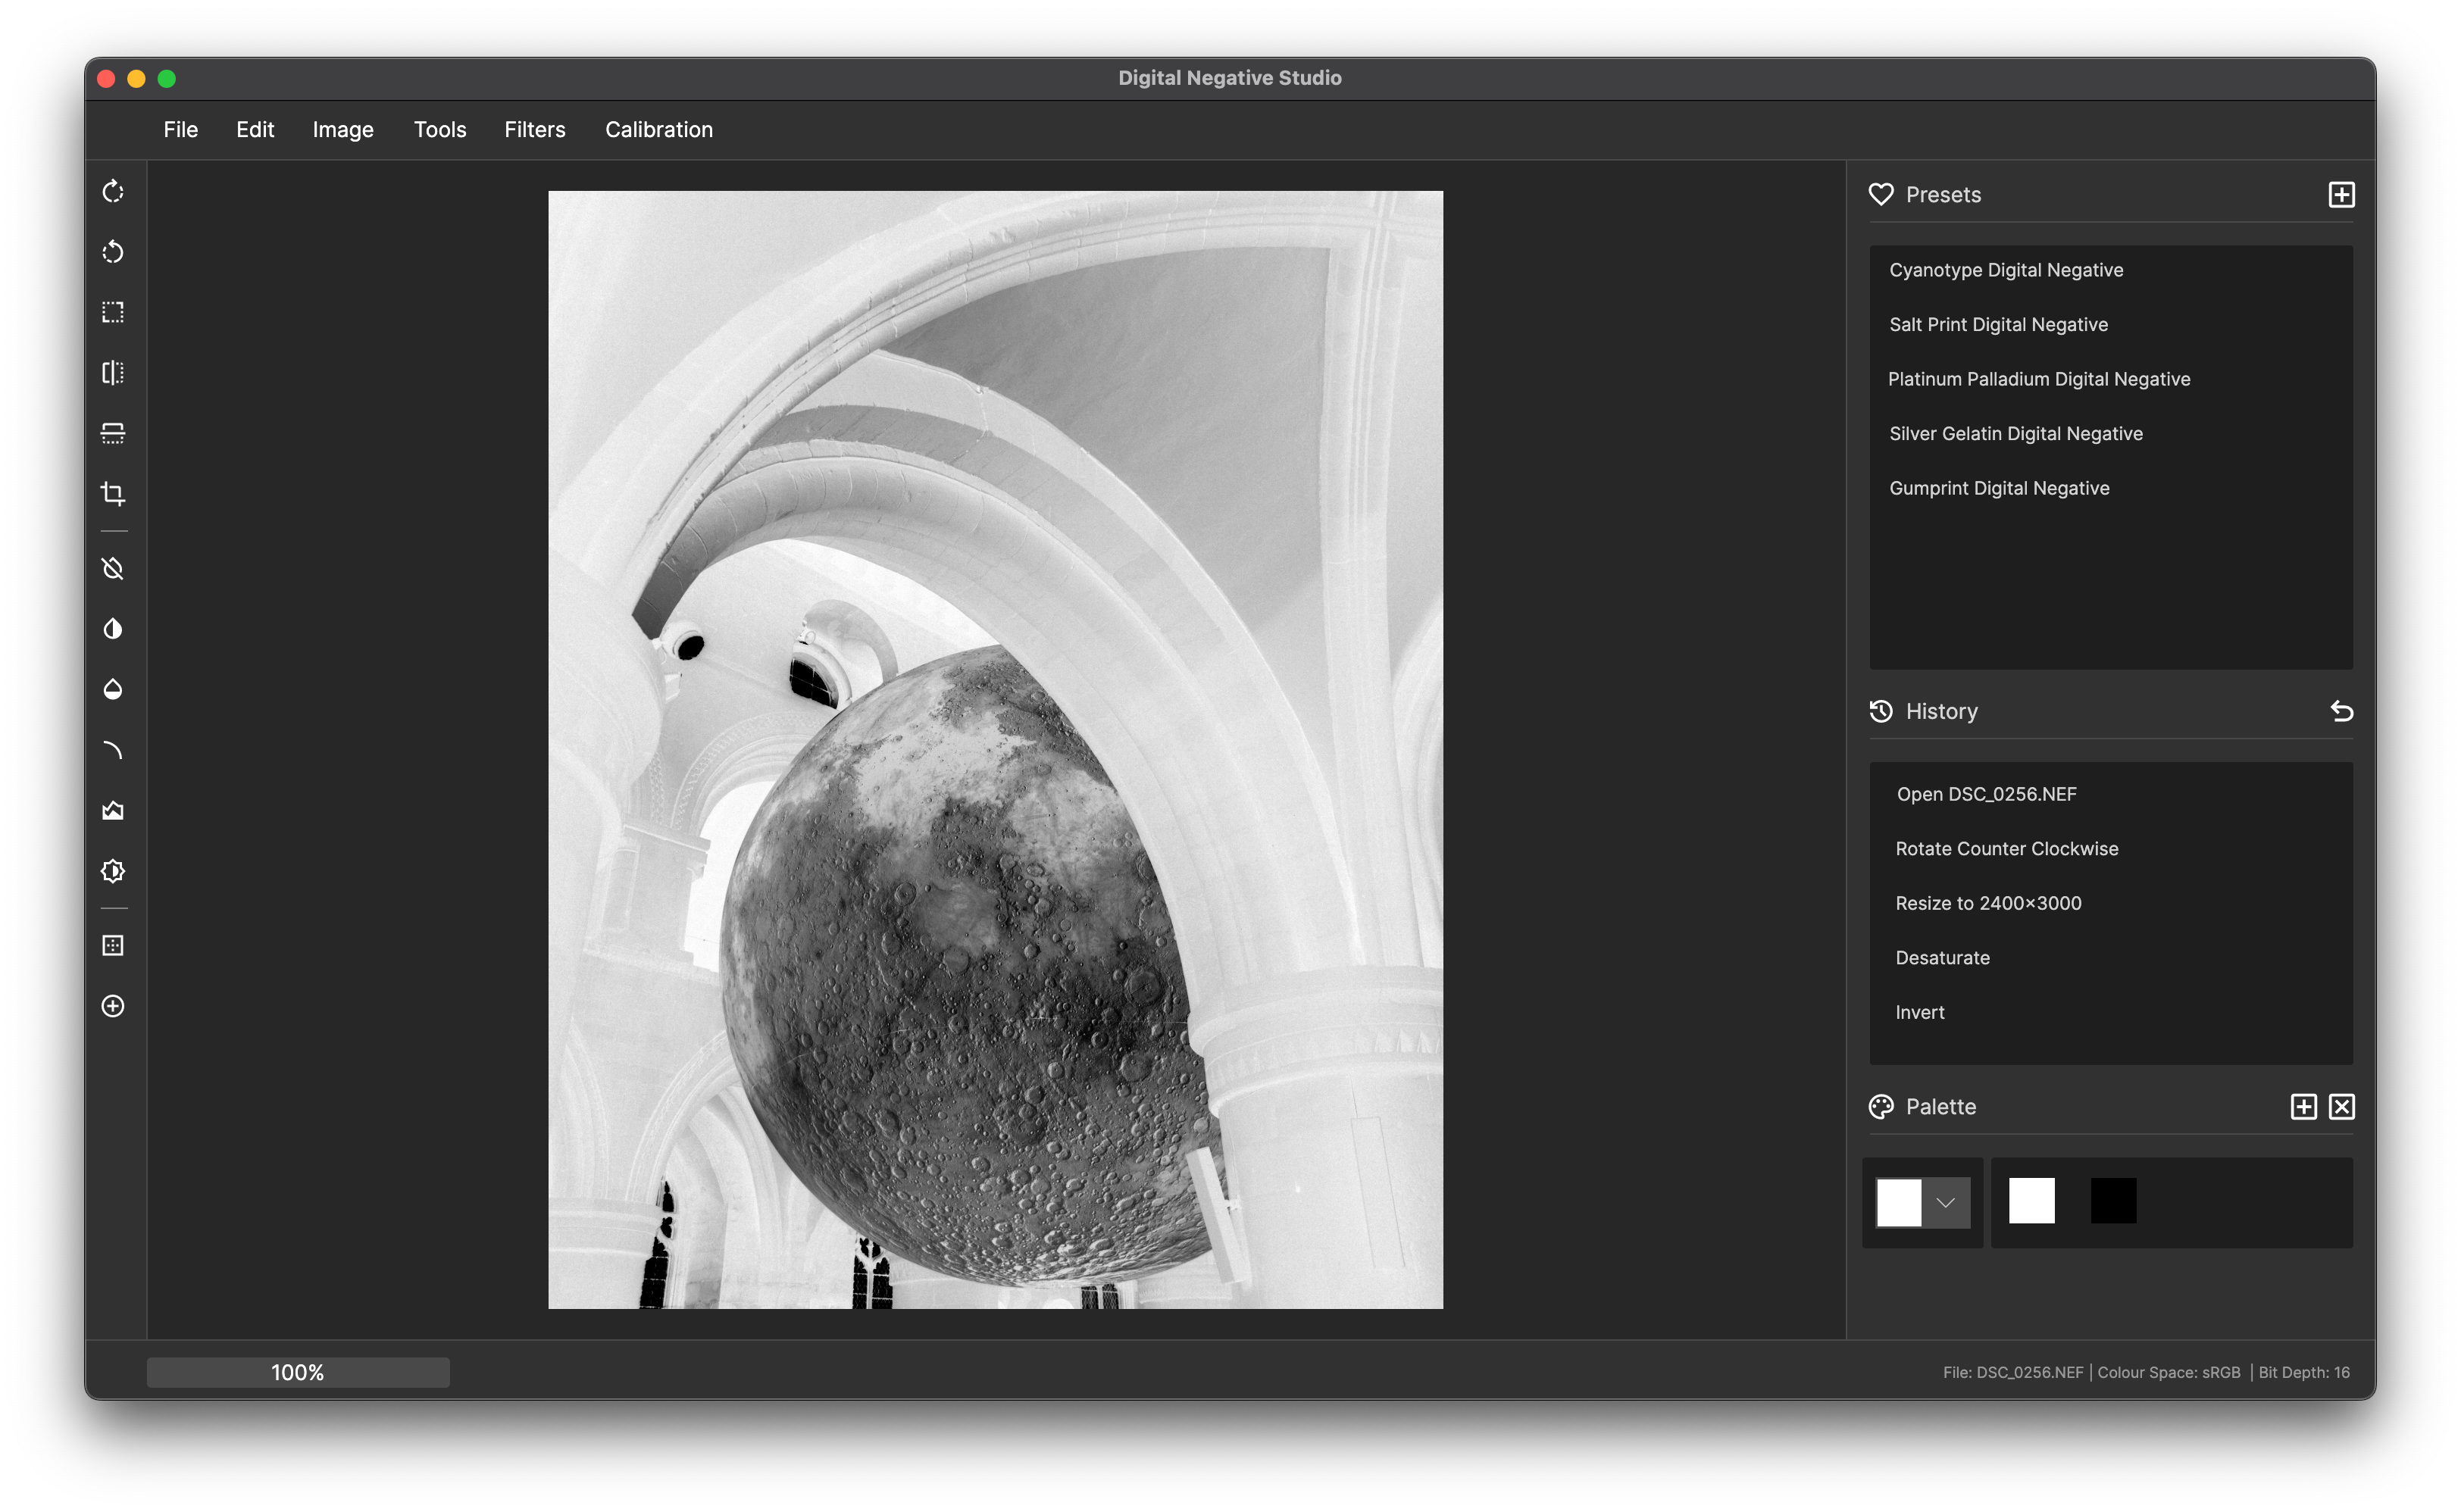
5. Invert the image
- Invert the image using Tools > Invert.
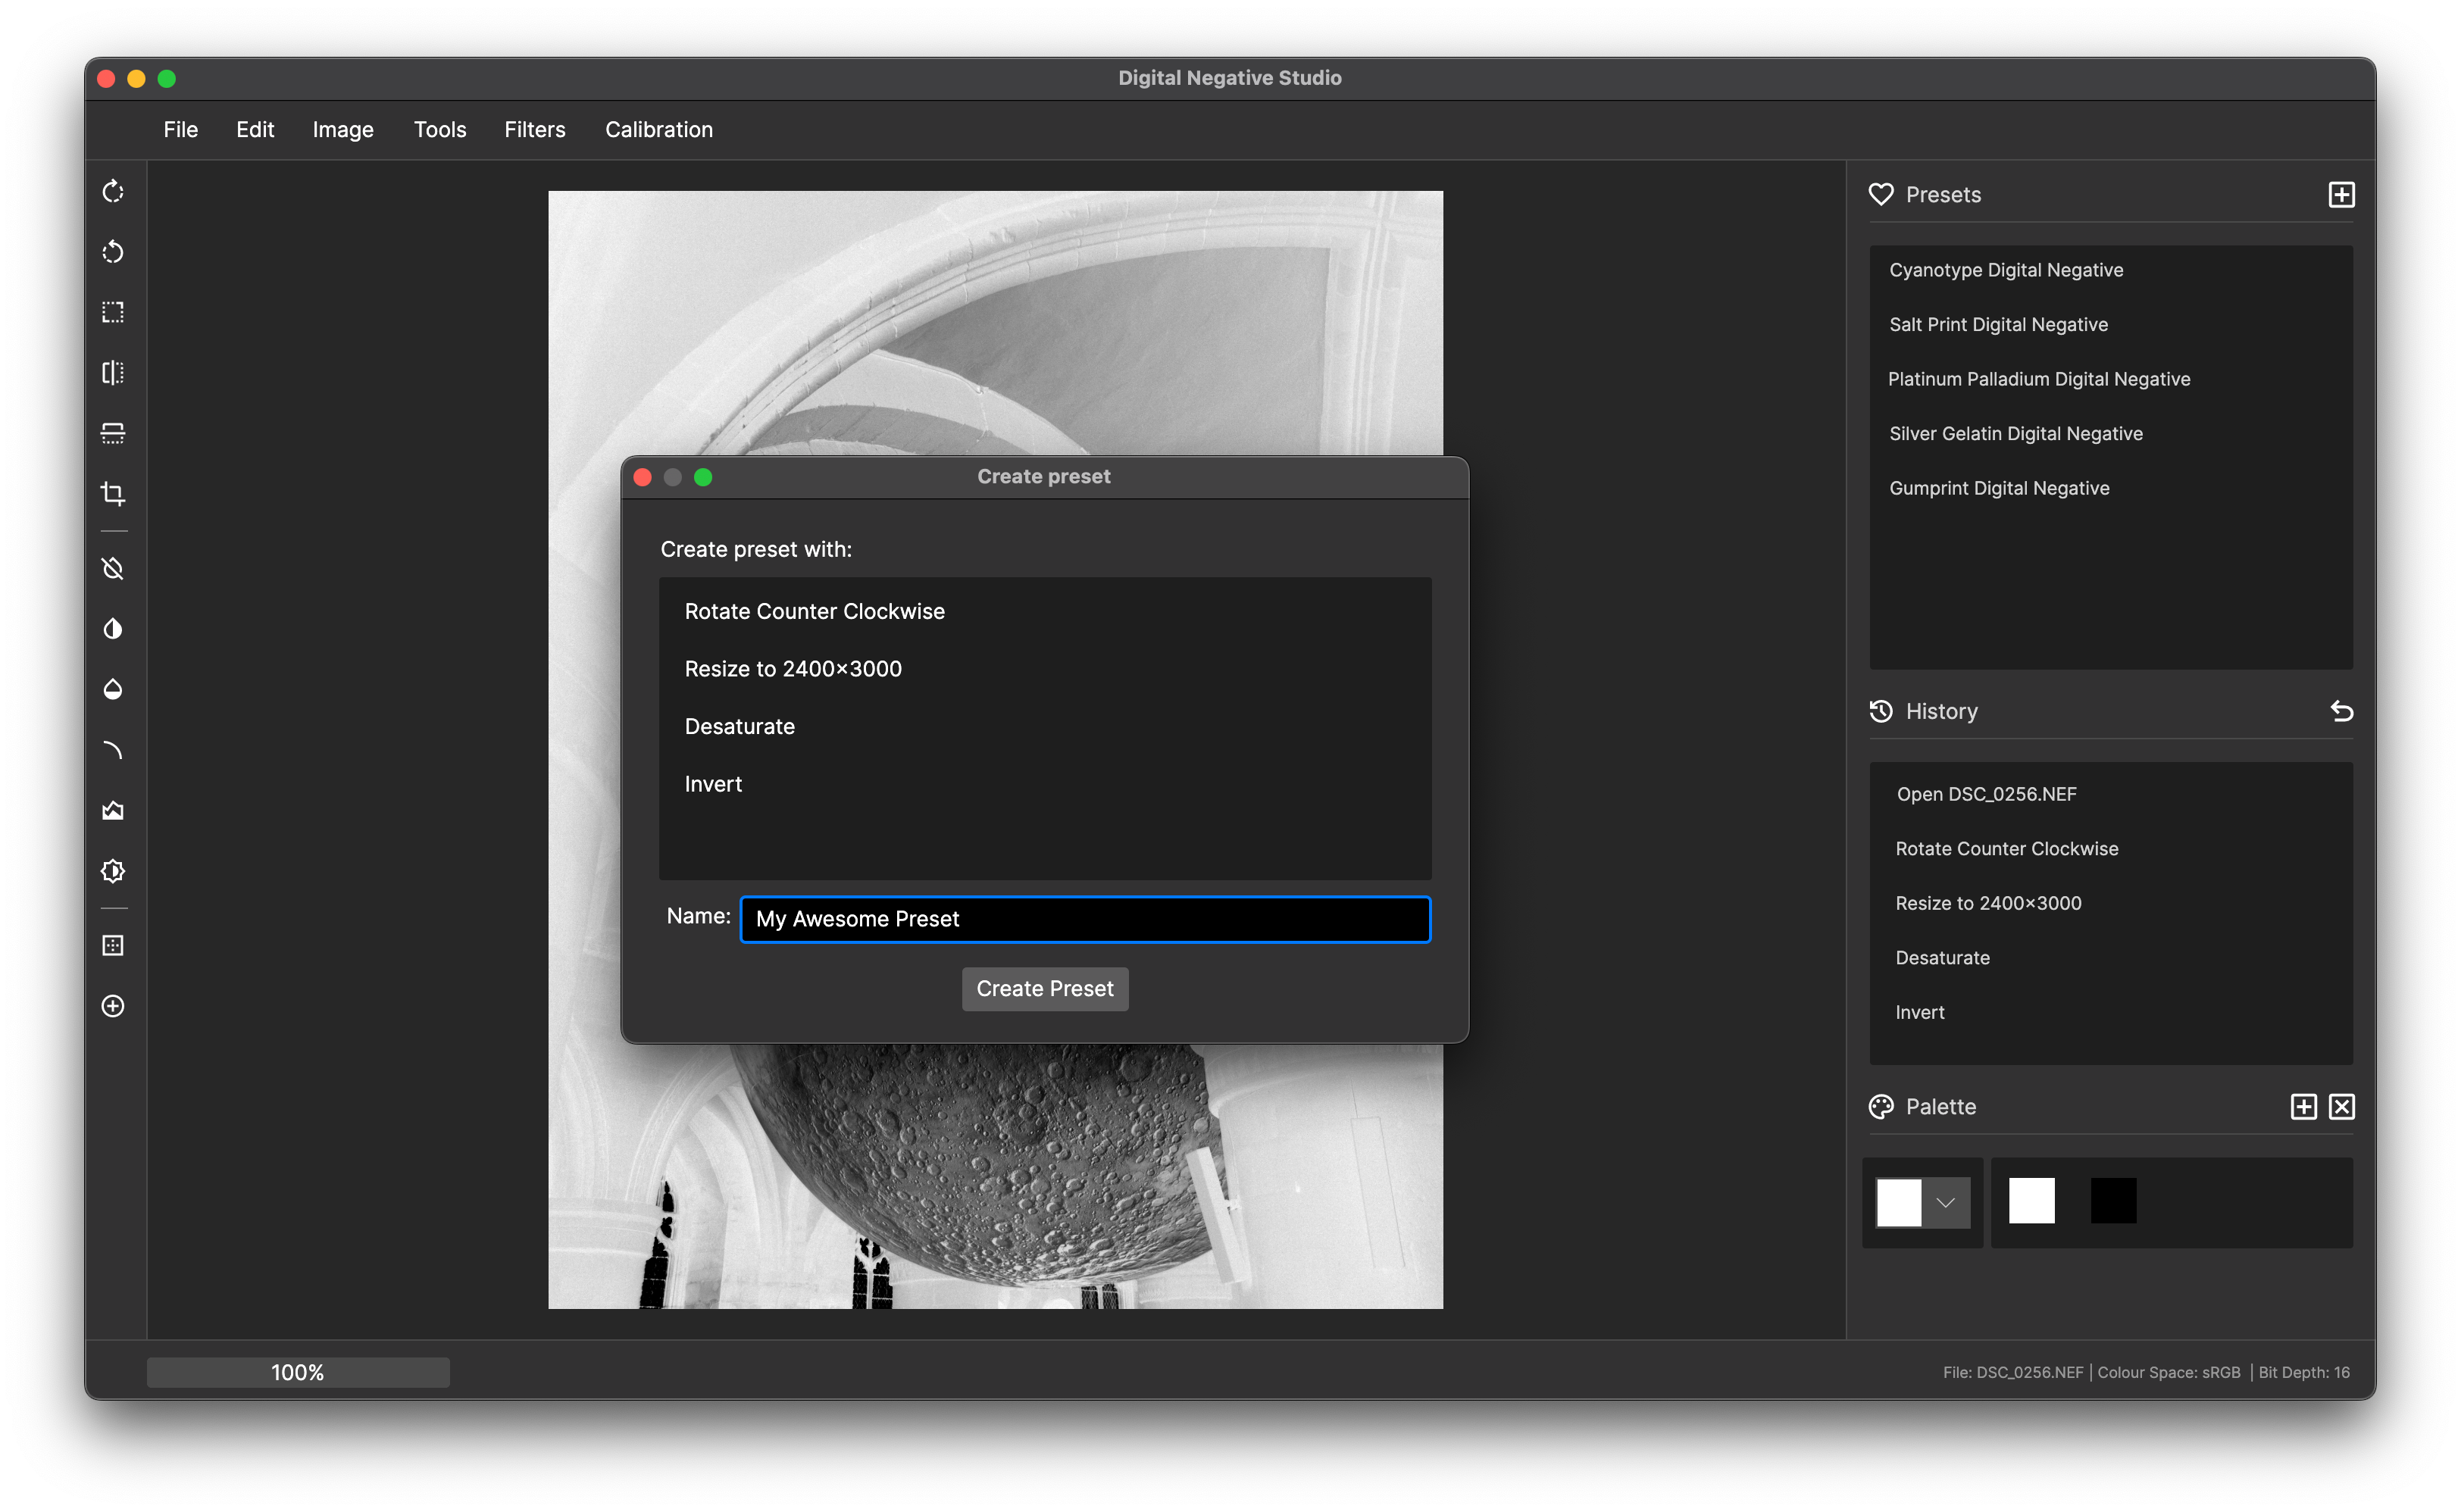
6. (Optional) Create a preset for future use
To quickly apply the same adjustments in the future, create a preset:
- Press the + button in the presets window.
- Name the preset and click Create Preset.
7. Save and Print your Digital Negative
- Save the file using File > Export.
- Print the negative on transparency paper using your computer's photo viewer.
- Produce a print using the process of your choice. This example is using the cyanotype process.
